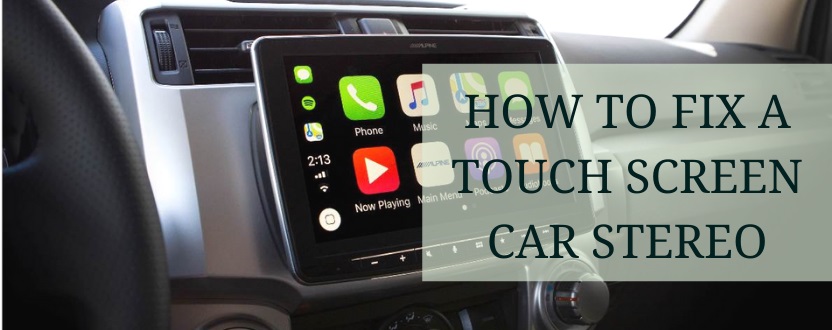
Smart touch screen car stereos are far more convenient to use than their analog counterparts. They allow you to change the stations or control the volume just by touching with your fingertips instead of turning knobs. Some are even fitted with advanced features like GPS, video streaming, phone integration, and more!
Unfortunately, they aren’t immune to problems. The touch screen feature is often the first thing to start malfunctioning. Don’t be disheartened if you’ve accidentally broken the screen or if it has suddenly become unresponsive.
We’re going to tell you exactly how to fix a touch screen car stereo. So, instead of buying a new model, you can try fixing it all by yourself!
What Are The Major Problems of Touch Screen Car Stereo?
Let’s learn a bit about the major problems of touch screen car stereos. It’s important because you will be aware of the issues you may face in the future and be able to quickly figure out how to resolve them.
Problem 1: Unresponsiveness
The touchscreen is only fun when it’s highly responsive to your fingers. But when the screen doesn’t respond, no matter how many magical spells you cast with your fingers, it can get really annoying.
Unfortunately, it isn’t uncommon for touchscreen car stereos to become unresponsive. It can happen due to several reasons.
For instance, if the screen has lost its calibration, it won’t respond as expected as it won’t be able to register the touch pressure correctly.
The build-up of dirt and dust can also cause the touchscreen to be unresponsive. If you do not clean regularly, these filths can even damage the component for good!
Problem 2: Wiring Problem
If there is an internal wiring issue, your touchscreen will fail to work. In some cases, you won’t even be able to power it on. This can occur due to faulty installation, which shouldn’t be that hard to fix. Sometimes, heavy vibration can cause the wires to loosen up.
Problem 3: Prone To Physical Damage
Touchscreens are pretty fragile, so they are very prone to physical damage. They can break quite easily. For example, if your car jumps over a speed bump a little too hard, you’re likely to end up with a couple of cracks or, in the worst-case scenario, a broken display!
If you accidentally hit the screen, it’s going to break too. Besides, prolonged touching can create scratches which can lead to significant damage later on. You’d have to be extra careful when using them if you want them to be in one piece for a long time.
Problem 4: Software Error
Smart touchscreen car stereos rely on software to function properly. Millions of codes allow them to perform as they do. It’s common for the software to have bugs and errors. When that happens, your stereo won’t work as expected. It will start malfunctioning until you find a way to fix the software issue.
These are the most common issues of a touchscreen car stereo. We haven’t covered all of them, so you might come across something that we haven’t discussed.
How To Fix A Touch Screen Car Stereo: 2 Major Problems Fixing Steps
Now we’re going to address the problems of touchscreen car stereos and provide you with a complete guide on fixing them. This is a guide for both single din and double din screen repair so you’ll learn how to reset car touch screen stereo in no time.

Guide To Fixing An Unresponsive Touch Screen Car Stereo
Here is a couple of things you can do to fix an unresponsive touchscreen car stereo.
Step 1: Try Rebooting The Stereo
Before you attempt anything, reboot your infotainment system. Rebooting often has the miraculous power of fixing technological devices, so you might get lucky! Most devices can be rebooted by pressing and holding the power button for 5 to 10 seconds.
Step 2: Clean The Touchscreen Properly
Try giving your touchscreen a good old-fashioned cleaning. Remember to be gentle with the process because you don’t want to damage the screen.
Before you do anything, clean your hands. Then proceed to remove the old screen protector. Afterward, dip a clean cloth in a screen-cleaning solution and gently rub it on the screen. When you’re done, apply a new protector. This might do the trick!
Step 3: Update The Software
If your screen still isn’t responding after a cleaning, you could just need a software update. Try updating your software and see if that fixes the problem.
Step 4: Perform A Clean Factory Reset
As a last resort, you can perform a factory reset to repair your device. It’s easier if you’ve got an Android head unit. Even if the screen is completely unresponsive, it’s possible to perform the task using a USB keyboard.
A hard factory reset will solve any software-related problem and fix the calibration as well. So, this should help with car stereo touch screen repair. Most of the stereos come with manuals that will instruct you on how to perform a factory reset.
Step 5: Check the Temperature
If your touchscreen is sitting out in the sun, especially if you live in a hot climate, it could just be overheated. Check the temperature and if it’s too hot, you could need to turn the car off, park it in a space with some shade to let it cool off and turn it back on again to remedy the issue.
Guide To Fixing A Broken Touch Screen Car Stereo
If your touchscreen is completely broken, there is no alternative to replacing it. It’s actually easier than you think, and you can do it by yourself, even if you’ve never done this yourself before. We’re going to provide a step-by-step guide to touchscreen radio repair for your convenience!

Tools Required to Fix Broken Touch Screen Car Stereo
Here are the tools you’re going to need to complete the entire procedure. So, make sure you have them all within your reach.
- Appropriate screwdrivers
- Panel remover
- Clean microfiber cloth
- Screen Cleaner
- Double sticking tape
- A new screen paper
Step 1: Remove The Car Stereo
The first step is to remove the car stereo from your car’s dashboard. Grab the panel remover and use it to separate the panel. Then unscrew the screws that are used to keep the stereo placed inside. Before pulling the device out, carefully separate the wires. Take note of the cables you’re removing because you will be rewiring later.
Step 2: Dissemble The Car Stereo
Now that the stereo is all free of wires- place it in a safe and secure location where you can freely work on it. Pick up your screwdriver and start unscrewing all the screws that you find on the surface. Then open up the front panel.
You will notice numerous locks on the body of the car stereo that you will have to unlock. This can be done by applying a little bit of force in the right direction. You can use the panel remover too.
Step 3: Detach The Main Wires Of The Screen Panel
After the chassis is wide open, you will be able to see everything inside the stereo. Take a look inside. You must find a set of circuits and several wires that are going right to the screen panel. Now, gently detach these wires.
Step 4: Disconnect The Touchscreen
You must disconnect the wires that are connected to the touchscreen the same way. Depending on the placement of the motherboard, you may or may not have to remove the screws from the motherboard. Make sure the touchscreen is completely disconnected from the motherboard.
Step 5: Remove The Broken Touchscreen
The touchscreen is usually attached using glue or an adhesive instead of screws. So, you’re going to have to loosen the adhesive before removing the screen. As soon as you’re done, the LCD will be completely exposed!
Step 6: Clean The LCD
Now, clean the LCD using the screen cleaner gently to get rid of all the residual dust and debris. The microfiber cloth will come in handy so use that to get the best results. You don’t want to press too hard, though.
Step 7: Install The New Touchscreen
After you’re done cleaning the LCD, now is the time to install the new touchscreen. You should use a high-quality and strong adhesive like double-sided adhesive tape for mounting the new component. Cut the tapes into thin and long pieces for getting the best results.
Then peel one side of the tapes and place them on both sides of the new screen. Afterward, peel off the other side. Now, make sure to align the screen with the panel perfectly. The wires must be aligned correctly as well. Then gently place the touchscreen carefully on the panel.
You may have to apply a little bit of force to attach the screen correctly. Leave no room for air to enter because the connection must be airtight!
Step 8: Add a Screen Protector
Before reassembling everything, make sure to add a screen protector to ensure extra protection from dust and scratches. This will save you the trouble of opening up everything again just to apply a screen protector later.
Step 9: Reassemble everything carefully
Remember how you disconnected everything? Now you’re doing to do the same thing, only in reverse! Grab ahold of those wires and reconnect them again. Make sure to connect the screen’s wires to the panel before joining the panel wires to the motherboard.
Screw the motherboard in place. Then close the chassis. Afterward, you must reconnect the stereo wires to the car.
That’s it, you’re all done, and your new touchscreen is ready to be used!
Additional tips
Here are a few tips to keep your touchscreen working properly for longer.
Avoid using in extreme temperatures
Avoid overheating by not using your touchscreen in extremely hot or extremely cold temperatures.
Handle with care
Be gentle with your touchscreen and it will last longer.
Use a stylus
Using a stylus can also protect your screen from damage.
By the way, If Your Touchscreen stereo system won’t work properly after fixing, You may find a new one from the following.
| Product Name / Product Image | Description | Primary Button |
|---|---|---|
|
Choice #1
|
|
|
|
Choice #2
|
|
|
|
Choice #3
|
|
|
|
Choice #4
|
|
|
|
Choice #5
|
|
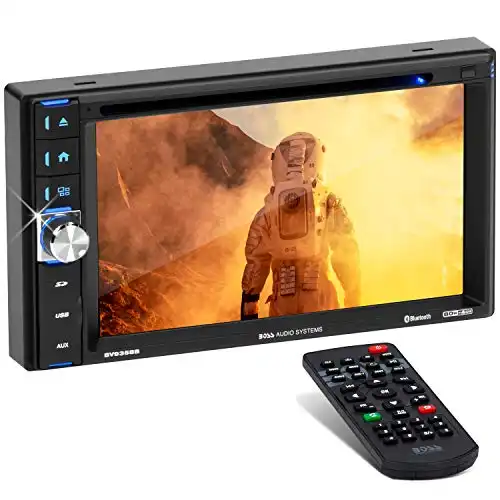
It features Bluetooth, DVD player with 6.2 inches LED touchscreen. Inputs: USB, SD, Aux, USB Charging, Rear Camera, & Steering Wheel Control.
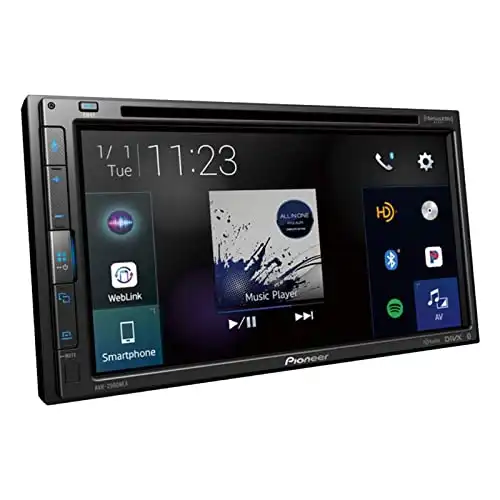
This item comes with high-quality audio and video performance. It is compatible with android auto and Apple carplay. Pandora and SiriusXM are also included.

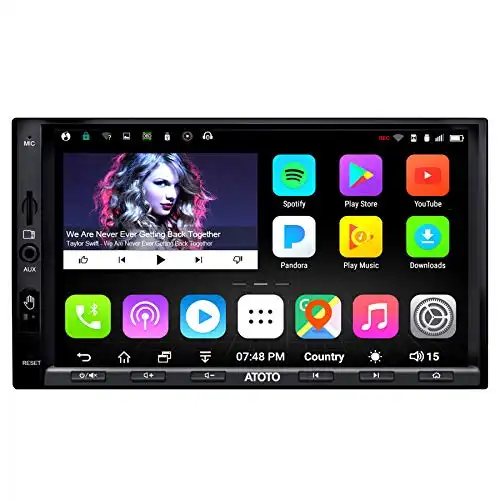
This stereo features 7” capacitive touchscreen display, 6-channel preamp outputs (4-volt front, rear, subwoofer), rear USB port, rear auxiliary input, and two camera inputs.
It features Bluetooth, GPS navigation, Aux, audio/video input, reverse camera, micro-SD port, and separate subwoofer output. It also included a pre-amplifier, preset 9-band EQ, and radio tuner.
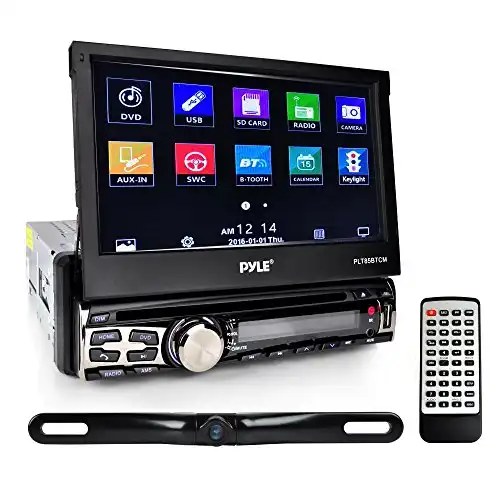
The Pyle is a flip out single din unit that comes featured with sharp 7” touchscreens, Bluetooth, USB, RCA, and AUX input. In addition, it has a front-loaded DVD player and backup camera connection which make you safe while driving.
Final Words
With our “how to fix a touch screen car stereo” guide, you should be able to fix your malfunctioning touchscreen stereo easily. Doing it yourself can save you a lot of money. However, if the problem is too great for you or if you’re still experiencing car touch screen not working after cleaning and doing all the steps listed above, you should seek professional help.
Links of Related Posts: