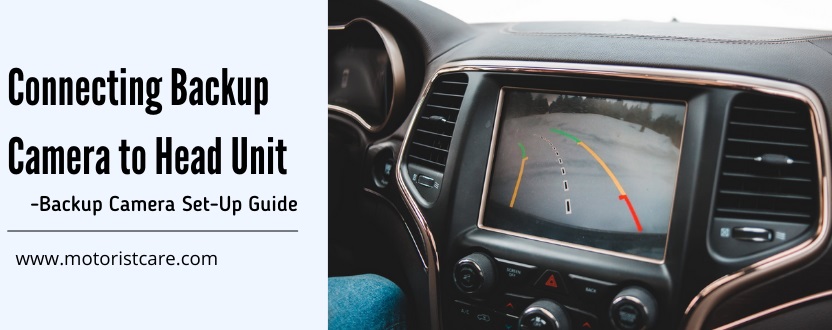
A backup camera allows you to see the back view of a car. The benefit of having a backup camera is that you do not have to crane your head to look at what is behind you. Instead, the camera installed at the back will show the feed in the monitor of the car stereo.
If you are familiar with cars and know how to work with them, installing the backup camera will be very easy. However, if you are not, it may seem a bit complicated.
So, to learn how to connect backup camera to head unit, keep on reading!
7 Steps To Connect Backup Camera To Head Unit
The process of hooking up a backup camera is relatively straightforward. The function of the back camera is for you to have an unobstructed view of the backside of the car when you are backing out of the parking lot or backing out in general. You don’t want to run over someone or bump your car unintentionally!
Follow the easy-to-follow steps to know how to hook up rear view camera.
Step 1: Decide Where To Install The Backup Camera
You can install the camera in several ways, but the most efficient way to have a clear view is to attach the camera to the license frame and at the car’s center to have a holistic perspective.
By attaching the camera to the license plate, you will protect the camera and have an unblocked view. This will be a trial-and-error method. If you cannot view the backside of the car properly, then adjust your camera accordingly. Keep changing the camera until you are satisfied with the position.
As you have to drill the camera to the bumper in most cases, you have to be strategic when installing the piece. You don’t want to have too many holes in the bumper.
If you wish to avoid readjusting the camera, your best bet will be to invest in an adjustable camera.
Step 2: Ensure Safety First
Make sure that you are wearing safety goggles and gloves when you are drilling or handling any wires. Apart from that, turn off your car when you want to install the cameras. It will ensure that there is no power in the car and you can avoid getting electrocuted.
Step 3: Install A Backup Camera To The License Plate
Unscrew the license plate from the car and decide where exactly you want the camera to be placed. After that, mark the spots with a marker and drill a hole in the marked position on the bumper.
The wired hole will have harsh edges. Place the circular rubber grommet there. It will help mask the edges and protect your wires too.
If the cables rub in with the rough edges of the metal plate, it can wear out the wires and expose the live wiring, which must be replaced again. So, make sure that you use a rubber grommet for a smoother experience.
After you have installed the rubber grommet, let the wires of the camera go through the hole. Once you have done that, screw the license plate back into the stereo.
Step 4: Know What Comes In The Backup Camera Kit
In the camera, you will find two types of wire. One is the power plug, and another one should be the video output plug. You will also find a video wire and another wire that transmits the video feed into the radio in the camera kit.
In the gear of the camera, you will find a camera power wire that has two loose ends. One is red, and the other is black. Although the colors of the cables differ from one model to another, the function is the same.
You will also find a long video wire for plugging into the car stereo monitor to show the video feed.
The video wires have two plugs, and both plugs contain smaller wires inside them. You should know that the longer video wires carry the video, and the other end of the video plug inputs it into the radio. On the other hand, the shorter video wires connect to the power source and reverse gear.
Step 5: Find a Power Source For The Camera and Attach the Power Wires
For the camera to work correctly, it must have a power source. The most efficient way of finding a power source is using the taillight of the car. You can find a power source there as the taillights need electricity to light up.
How to attach it to the camera? Well, it is relatively easy. In the taillight, there are wires attached to the reverse lamp. You can locate which wire is positive by using a multimeter and connect it to the respective power plug of the camera.
You can attach tea taps to the taillight wire and attach tea taps to the wire of the power wire. Then you can connect the tea taps. One will be the positive wire, and the other one will be the earth wire. Your camera now has power!
Step 6: Attach The Video Wires To The Radio Port
The video wire given in the kit is very long. Attach one of the video wires to the video port of the camera and the other wire to the radio port.
In the video plug connector, two small cables come from the two ports of the video wire. One of the smaller video wires should be attached to the reverse gear wire found in the radio ports, and the other should be connected to the positive port of the reverse lamp of the taillight.
As the smaller video wire is attached to the power source, the gear wire will be very functional. It will tell the radio whenever the reverse mode switches on.
When you shift to park mode, the lights of the taillight will turn off. Since the taillights will be off, the camera too will be off. The radio will go back to the setting it was previously on.
Step 7: Sort Out All The Wires of The Camera
You will find a hole in the car’s storage compartment once you detach the panels. Once you locate the storage compartment hole, place the wires in the hole and neatly tuck the cables inside the car’s floorboard until you reach the radio or the head unit of the vehicle.
Once you have run the wires across the interior to the car’s front, start dissembling the car radio. Unscrew the radio from the dashboard using a screwdriver. You will find the radio port and reverse gear plug inside the disassembled radio.
Make sure you have a digital screen in the radio that could work as the screen for the video. If you do not have such stereo, you will have to purchase a car stereo with backup camera that has a digital screen.
Just like that, your backup camera is set up to the head unit!
Conclusion
A backup camera is a crucial component of a driving experience. It helps you navigate better and ensures that you have fewer accidents in life.
The process of installing a backup camera can seem intimidating without knowing how to connect backup camera to head unit. However, if you are familiar with the workings of the car and know how to disassemble or reassemble parts, it will be effortless for you to follow the guide.
Simply follow the steps detailed in our backup camera wiring guide, and you will reach your goal!
Also Read: