Maintaining car interiors can be tricky and they catch up a lot of dust and dirt over time. If not cleaned they will form a heavy muck that can deteriorate the performance of your car and most importantly it will look shabby.
The most complicated space can be the car stereo. It is the audio system of your vehicle and has a lot of intricate buttons and spacings. With time the magnets within will attract all sorts of smuts and chaffs. So every car owner must know how to clean car stereo by themselves.
Let’s take a look at the steps you should follow.
6 Steps To Clean A Manual Car Stereo
The effacing process depends on the kind of stereo installed in your car. If you own a manual CD/DVD or radio system then cleaning will be slightly different than the digital media receiver. For the ones with more buttons and manual functions (No touch screen), try to go with the steps given below.
Step 1: Things You Need For Cleaning
Gather the necessary items like
- Pointy sharp objects like a paper clip, toothpick or pen
- Window cleaning solution (interior cleaner), alcohol and cotton swab
- Soft cloth (microfibre towel)
- Interior brushes to dust off specks of dirt
- Compressed air duster
Step 2: Clean The Grooves Between The Buttons
Stereo systems like a cd player, radio player have many buttons and groovings between them. To dig out these hard to get places, you need a sharp object like a toothpick or paper clip. Slowly start cleaning by scraping the spaces where you see grimes. As you are dealing with pointy tools, make sure not to scratch the interior.
Step 3: Use The Cotton Swab To Rub Off The Dirt Remains
Cotton swabs are handy at this stage. Just like step 1 you should go over the spacings with the soft cotton tip. Dab a bit of interior cleaner or quality window cleaning solution on the cotton and rub off the remaining leftover clouds of dust with ease.
Step 4: Take Out The Smudges
As you have been using the stereo for a long time, there will be a lot of fingerprints that are visible and some won’t be visible but unknowingly you will somehow stamp up the sweat on the surface of the switches and side panels. To get rid of such spots, always use a soft microfibre cloth, to wipe the upper layer. Use a bit of alcohol solution to re-do the process to eliminate any unwanted markings and smudges.
Step 5: Open The Receiver Chassis And Dust It Off
A good way to thoroughly clean a cd or DVD player is to remove it from its setup position and clean it externally. Sometimes CDs and DVDs will need a bit of tuning because of skipping noise. You can buy CD cleaning fluid from the market and spray it up, later rub it with a microfibre soft cloth to dry.
Then we suggest you use a compressed air blower to blow off all the dust from the interior and exterior of the disk holder. Make sure to use it on the disk as well.
If you use an old school cassette player, make use of the cotton bud and alcohol to wipe the head of the tape, pinks and tape guides.
Step 6: Put It Back In To Enjoy The Music
Once you are completely sure that the stereo system is tidy, simply put it back in the holding pocket and screw it back. You are done! Always remember that Sanitizing a car stereo system is not like car headlight cleaning. These are two different processes that require different techniques. You don’t use soap, water, baking soda, glass cleaners, sanders or wipers to clean a stereo system, so never mix things up. Follow the 6 steps mentioned here and your stereo system will work anew.
How To Clean Touch Screen Car Stereo
Talking about the variants of a car stereo. Touch screen sound systems are found in most cars nowadays and they require some cleansing as well. So what can be done in such scenarios?
1. Items To Use
- Interior cleaner/plastic cleaner
- Microfiber cloth and touchscreen wipes
- Interior brush
- Compressed air sprayer
2. Work With The Interior Brush And Compressed Air
Use a soft bristle brush to clean the dirt specs on the switches and spacings between the plastics. Then softly blow compressed air to terminate all the dust.
You can also use plastic cleaner on the brush to efface grubby switches. Don’t use powerful abrasives, it can peel off the colour from the switchboard.
3. Clean It With Microfibre Towel
Spray the plastic cleaning formula on the towel, then gently wipe off the buttons and panels. Don’t go too hard with the rubbing, it can pull off the switches.
4. Finally Wipe The Touch Screen
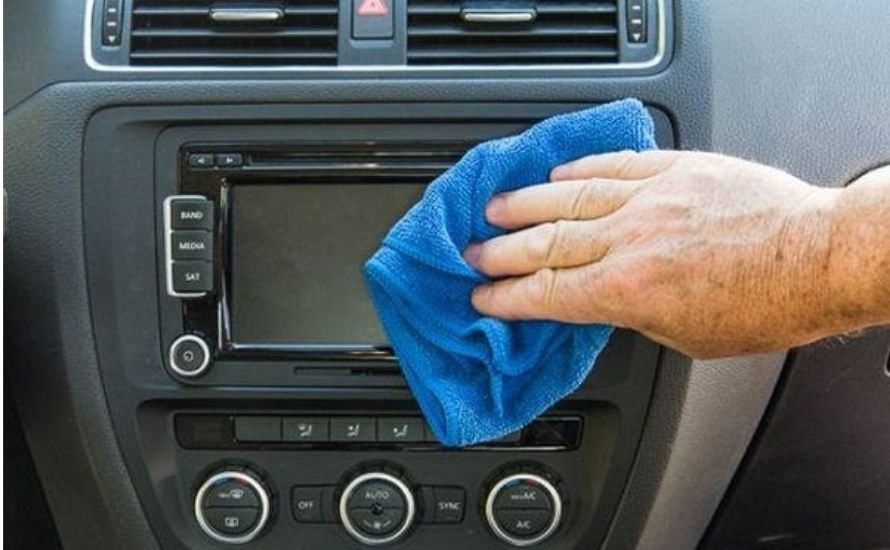
Last but not least, use a soft microfibre cloth or touchscreen wipes to gently clean the touchscreen. Put a minimal amount of pressure to clean the surface. Remember, putting excessive force might make the touchscreen crack, due to its pliability.

Conclusion
Say no to garage visits for stereo cleaning jobs. It’s a simple task that every car enthusiast should be able to pull off on their own. Well, it’s simple but needs patience and precision to make things appear crystal clear. We recommend you to follow the steps we jotted down in this article and be less aggressive when it comes to wiping. Mastering the art of cleaning stereo can be slightly time-consuming but if you can do it. Your car stereo will shine like a diamond.
Related Posts You May Read:

