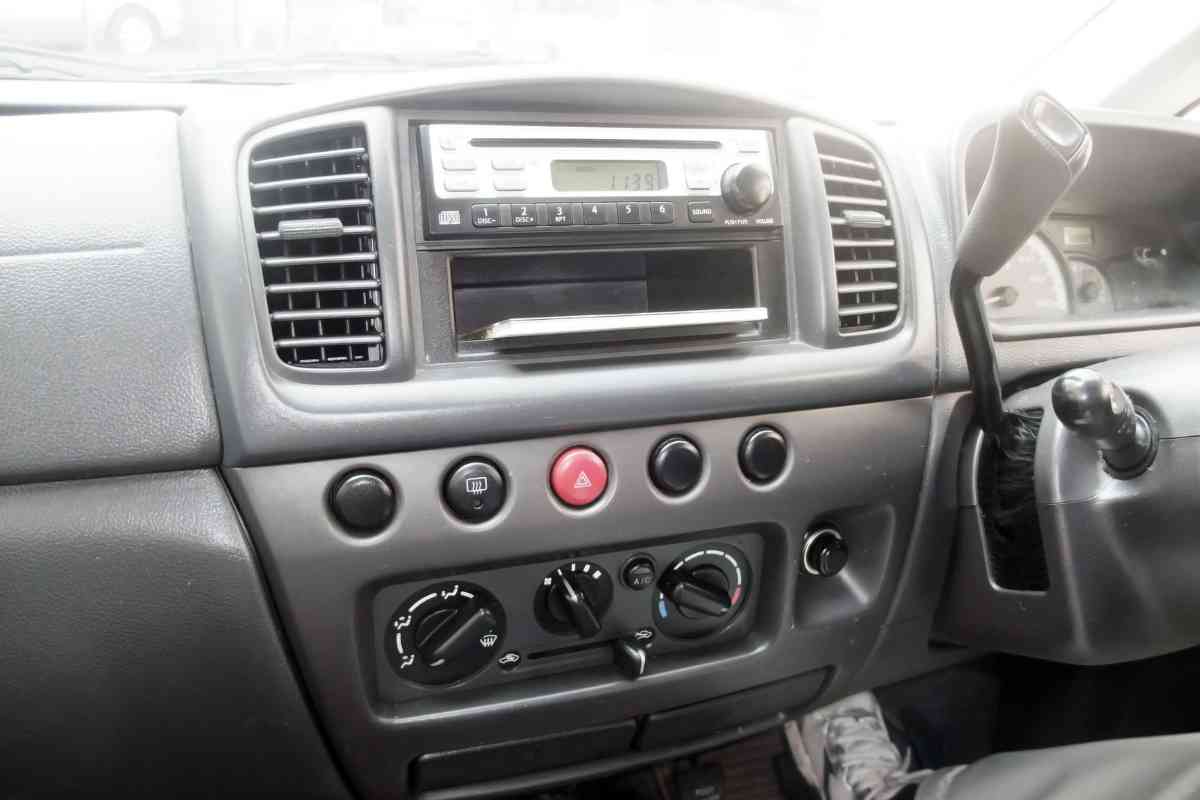
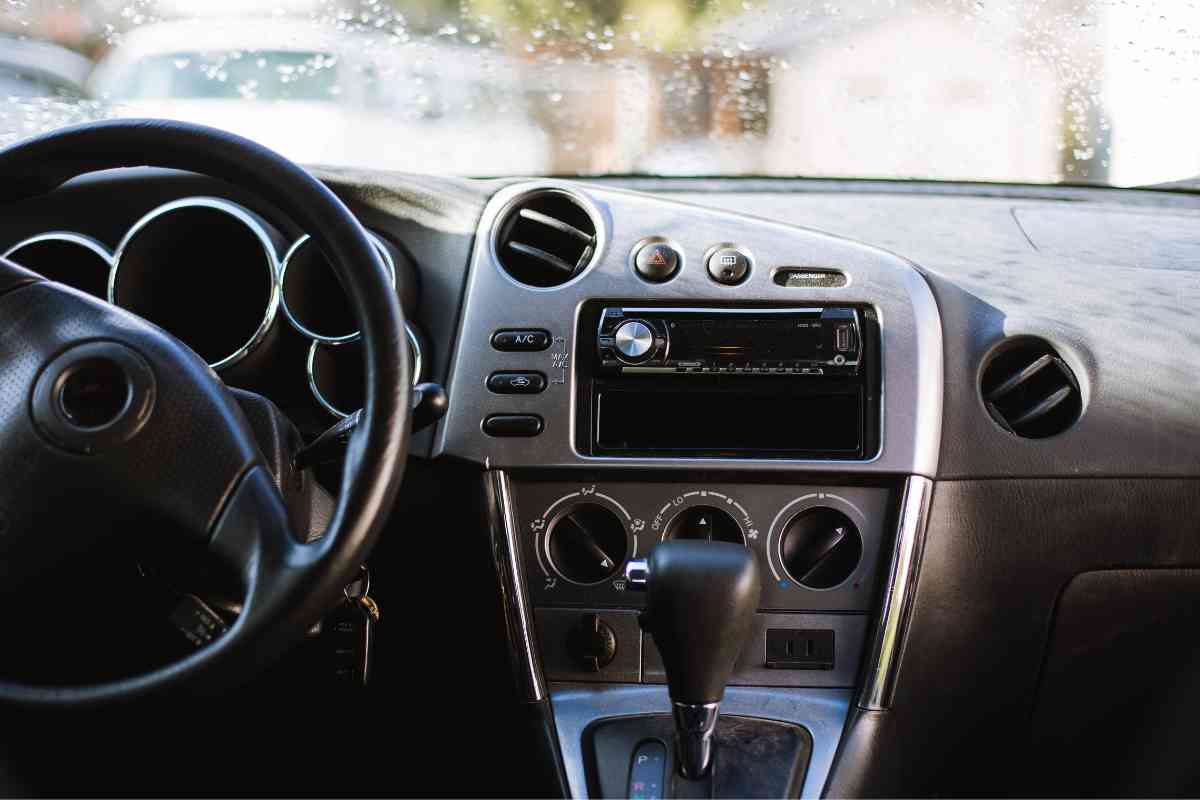
The Pioneer car stereo is an exceptional audio system to enhance your car experience. Its diverse range of features elevates your listening pleasure to new heights.
How do you reset a Pioneer car stereo? Resetting a Pioneer car stereo is an effortless and uncomplicated procedure accessible to everyone.
In most cases, the issue lies within one of the radio settings, which can be easily adjusted to restore the standard functionality of your stereo system.
The article reveals several practical methods to reset your Pioneer car stereo.
Reasons To Reset A Pioneer Car Stereo
Below are a few typical scenarios that may necessitate resetting your car stereo, even if it appears to be in optimal working condition:
- Following a recent car repair where the battery was likely disconnected, your car stereo might activate a safety lock as a precautionary measure. To reactivate it, a reboot is required before powering it on again.
- When you need to modify the stereo’s settings or encounter an obstruction hindering the desired functionalities, resetting offers a quick solution without needing to identify and adjust specific settings.
- Occasionally, unintentional modifications can be made to your Pioneer radio setup. If you encounter such a situation, reset the system and restore it to its default state.
How Do You Reset A Pioneer Car Stereo? (Step by Step)
Below are 3 methods to reset a pioneer car stereo:
Method 1: Resetting Pioneer DEH Car Stereo
Step 1: Engage the SRC button and maintain it until the stereo enters sleep mode.
Step 2: Briefly press and hold the sector button to reveal the menu option on the display.
Step 3: Sustain pressure on the selector button until the display shows “Initial.”
Step 4: Rotate the selector button to select the factory reset option and press the Selector to confirm.
Upon confirmation, your Pioneer car stereo will initiate a restart, bringing it back to its original working condition, reminiscent of its initial purchase. It is worth noting that specific settings may be lost in the process.
Method 2: Resetting Pioneer AVH NEX Car Stereo
The process of resetting a Pioneer AVH car stereo closely resembles that of a DEH model, albeit with slight variations. Follow these steps to restore factory settings:
Step-by-Step Guide:
- Tap the gear icon at the home screen’s upper right corner.
- Choose the wrench and screwdriver icon, symbolizing the tools menu.
- Scroll down until you find the restore settings option and select it to initiate the stereo’s factory reset mode.
Allow a few moments for the reset to complete, and your stereo will restart afresh, ready to accept personalized settings such as the time and date.
Method 3: Resetting 2 Din Pioneer Car Stereo
To reset your Pioneer double din stereo, follow the steps outlined below:
Step 1: Remove the unit from the bracket and detach the plastic panels on its sides.
Step 2: Locate the primary power wire, situated beneath a panel on the right side of the unit, and unplug it.
Step 3: Look for a small hole at the bottom of the unit.
Step 4: You will find a tiny reset button within this hole. Utilize a thin object like a needle or paper clip to press and hold this button for up to 5 seconds until the display goes blank.
Step 5: Hold the SRC button until “Initial” appears on the screen.
Step 6: Press the Selector to confirm the Factory Reset option. The process will conclude within a minute or two, leaving your head unit restored to its factory setting and ready for use.
Resetting Pioneer DEH Model (No touchscreen display) If you possess a DEH model without a touchscreen LED display, follow these steps:
Step 1: Hold the SRC button until the screen goes blank.
Step 2: Depress the MENU button for 3 seconds.
Step 3: Use the control dial to select “Initial.”
Step 4: Upon confirmation, your Pioneer car stereo will restart, reverting to its normal operational state, similar to its original state when purchased. You will need to reconfigure any necessary settings after the formatting process.
Resetting Single Din Pioneer Car Stereo
For resetting a single-din Pioneer car stereo, follow the same steps as for a two-din stereo (see steps 1-6). Hold the SRC button till the screen goes blank, then press the MENU button multiple times until “Initial” is displayed.
Rotate the control dial to select “Initial” and press the Selector to confirm. Your Pioneer car stereo will undergo a reboot, returning to its factory settings, prepared to accept your personal preferences.
Resetting 1.5 Din Pioneer Car Stereo
Please note that some car stereo models require an additional step in the process. If your model is not mentioned in the previous sections, follow these steps:
Step 1: Remove the metal frame and plastic panels on the sides of the stereo.
Step 2: Disconnect the primary power wire and turn off the ignition.
Step 3: Locate a hole in the bottom of the unit containing a small reset button.
Step 4: Utilize a thin object, such as a needle, to press the button for up to 15 seconds. This action will deactivate the built-in amplifier, which may need to be reactivated if it is available as an option.
Step 5: Wait for the radio to power off, then hold the SRC button until the screen goes blank.
Step 6: Press the Selector to confirm the Factory Reset option. The process will conclude within a few minutes, and your Pioneer head unit will be restored to its factory setting, ready for use and personalization.
Disconnecting Power from Pioneer Car Stereo
In most cases, the need for such actions is usually unnecessary. However, certain circumstances exist where the radio becomes locked, rendering conventional resetting methods ineffective.
In such situations, it becomes imperative to disconnect the Pioneer radio from the battery to reset its internal memory permanently. By doing so, the radio can revert to its original factory settings.
Outlined below are a few uncomplicated steps to disconnect the radio from its power source:
Step one
Open your vehicle’s hood and employ a screwdriver to detach the battery’s negative terminal.
Step two
Allow approximately one minute before re-establishing the connection by reconnecting the ground wire to the battery’s negative terminal.
These two methods mentioned earlier should suffice in resetting your Pioneer vehicle stereo.
However, if the methods mentioned earlier fail to yield the desired outcome, it is plausible that the Pioneer transmitter may have incurred damage, necessitating the radio’s replacement.
What Causes The Pioneer Stereo To Stop Working

In car stereo functionality, the system’s effectiveness is compromised when disruptions occur in the power sources or the pathways through which energy flows. Consequently, it becomes crucial to unravel the root cause of this predicament.
1. Blown Fuse
A blown fuse is one of the primary culprits responsible for the cessation of a car stereo operation. This commonly arises due to excess applied voltage, leading to fuse failure.
Accurate identification and replacement of the damaged fuse are required to rectify this issue.
Replacement fuses can be conveniently procured from various sources, including online platforms and automotive parts stores.
2. Antenna Damage
Given the outwardly exposed nature of a car’s antenna, it is highly susceptible to breakage or damage.
As a result, the radio becomes incapacitated in picking up signals from channels, ultimately resulting in a potential shutdown.
If attempts to repair the antenna and reset the radio prove futile, replacing the stereo unit may be necessary.
3. Damaged Wiring
Another factor contributing to the malfunction of a car radio is the presence of defective wiring.
The stereo unit relies on a network of interconnected wiring beneath the vehicle’s dashboard to establish a vital link with the power source.
Suppose recent electrical work has been conducted on the vehicle, resulting in the radio’s malfunction.
In that case, it is advisable to seek professional assistance by taking the radio to a certified service center to examine and resolve the wiring issue comprehensively.
Frequently Asked Questions
What should I do if standard resetting methods fail to revive my Pioneer car stereo?
If your Pioneer car stereo remains unresponsive to standard resetting methods, you may need to disconnect the radio from the battery.
This entails detaching the battery’s negative terminal using a screwdriver, waiting for approximately one minute, and reconnecting the ground wire to the negative terminal.
Can a blown fuse be responsible for the malfunction of a Pioneer car stereo?
A blown fuse is a common culprit behind the malfunctioning of Pioneer car stereos. Fuses can fail when subjected to an excessive voltage, resulting in the cessation of stereo operation.
In such cases, identifying and replacing the blown fuse is necessary to restore proper functionality.
What should I do if my repaired antenna fails to enable channel signal reception in my Pioneer car stereo?
Consider replacing the stereo unit if the repaired antenna fails to enable channel signal reception in your Pioneer car stereo.
Damage or breakage to the car’s antenna can hinder signal reception, leading to the stereo switching off. Opting for a replacement stereo unit could resolve this issue.
Is damaged wiring a potential cause for malfunction in my Pioneer car stereo?
Certainly, damaged wiring can contribute to the malfunctioning of a Pioneer car stereo.
The stereo unit relies on intact wiring connections, usually located beneath the dashboard, to establish a reliable connection with the power source.
If recent electrical work has been undertaken in the vehicle, resulting in stereo malfunction, seeking professional assistance from a service center is advisable.
Related:

