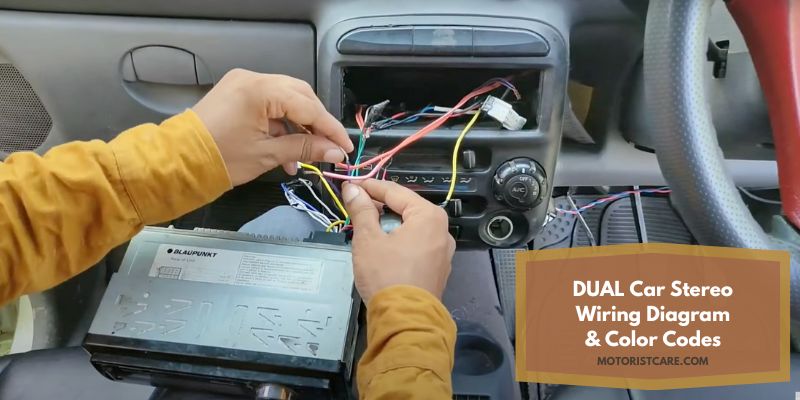
Understanding the color codes and connections of wires is the real challenge of a new car stereo. And DUAL stereos are not much different from any typical aftermarket brand, but you’ll still need a proper guide for it.
So, where can you find the perfect guide for DUAL car stereo wiring diagram & color codes?
Although DUAL car stereo wiring harness contains a lot of conventional color-coded wires, there are some unique ones. And for installation, you’ll need to know all of them. Also, only knowing a wire’s purpose won’t help you much. You’ll need to know where it should go.
For your convenience, we’ve gathered all the essential information regarding Dual stereo wiring in this article. Let’s take a look.
DUAL Stereo Wiring Color Codes
In this section, you’ll find what each colored wire of your DUAL stereo means and where it should go. Let’s dive in.
1. Yellow Wire: Battery 12V (+)
The wire is designated to draw the required power to run the stereo. You’ll need to connect it to the battery’s 12-volt (+) terminal. Without this wire, your stereo won’t start. So, make sure you don’t have a poor or damaged connection.
2. Red Wire: Accessory Wire
The red wire in the wiring harness works mainly as a switch wire. Don’t confuse this with the power wire; if poorly connected, this wire will restrict power to your stereo.
It’s also called the ignition switch wire because of how it works. Your stereo won’t get power access until you turn the engine on with your ignition key.
3. Black Wire: Chassis Ground (-)
The black wire in the harness system is for setting the ground connection. Every circuit requires a ground connection which works as the low voltage side. It also provides you safety from accidents like short circuits and voltage surges.
Find a tight bolt in your vehicle’s metal chassis and solder the wire to it. Make sure the connection isn’t loose because the circuit won’t be complete without this connection.
4. Orange Wire: Illumination Dimmer
The orange-colored wire supplies power to the illumination dimmer system of the stereo. Connect the wire to the dedicated dimmer switch on the stereo.
5. White & White-Black Wire: Left Front Speaker
Connect the white wire to the right front speaker’s positive terminal and the white-black striped wire to the speaker’s negative terminal; these wires supply power from the stereo to the left front speaker.
6. Gray & Gray-Black Wire: Right Front Speaker
Find the gray wire pair; these will go to the right front speaker. Make sure you have found the right terminals. Choose the terminals as mentioned for the white wires.
7. Green & Green-Black Wire: Left Rear Speaker
Now locate the green wire pair. These are meant for the left rear speaker. Connect accordingly the way you connected wires for the other speakers.
8. Violet & Violet-Black Wire: Right Rear Speaker
We’re almost done! Find the violet pair of wires and connect them to the corresponding terminal in the right rear speaker. Remember, always connect the black striped wire to the negative terminal.
Conclusion
A faulty installation of your car stereo can not only damage the stereo itself but also put your vehicle at risk. I believe this guide for DUAL car stereo wiring diagram & color codes can help you with a proper and safe installation.
Related Stereo Wiring Guides:

