![Chinese Android Car Stereo Wiring Diagrams [ATOTO, CAMECHO, and Hikity].jpg](https://motoristcare.com/wp-content/uploads/2022/12/Chinese-Android-Car-Stereo-Wiring-Diagrams-ATOTO-CAMECHO-and-Hikity.jpg)
Getting a Chinese android compatible stereo head unit for your car will take your car stereo experience to the next level. But first, you need to do the wiring and installation properly.
So, how should you approach this? Well, in this article, you’ll find a proper guide for some very eminent Chinese android car stereo wiring diagrams for ATOTO, CAMECHO, and Hikity.
When installing a new head unit, you’ll need to leave specific wires out if you don’t have the additional component for it. ATOTO, CAMECHO, and Hikity are some of the most prominent brands for android stereo units, and most of the products on the market follow a similar color code pattern to these units.
Give this article a read to know how the stereo component of each brand should be wired and installed.
Chinese Android Stereo Wiring Color Codes and Diagram
There are usually 18-20 pins in a Chinese stereo unit like ATOTO or CAMECHO, but only 14 will be enough to get the unit up and running.
Let’s take a look at the aftermarket car stereo color codes and the diagram.
Essential Pins
As addressed earlier, only 14 pins are enough to get the device going, but what is the mechanism of these pins?
Here I’ve addressed the task of each pin to give you a clearer idea, which is essential for connections in the setup process.
- Yellow Wire – Battery Power (+)
- Red Wire -Accessory/ Ignition Switch 12V (+)
- Black Wire – Ground (-)
- Blue Wire – Antenna Power
- Blue/White Wire – Amplifier Turn On (+)
- Orange Wire – Dimmer / Illumination (+)
- White Wire – Left Front Speaker (+)
- White/Black Wire – Left Front Speaker (-)
- Grey Wire – Right Front Speaker (+)
- Grey/Black Wire – Right Front Speaker (-)
- Green Wire – Left Rear Speaker (+)
- Green/Black Wire – Left Rear Speaker (-)
- Purple Wire – Right Rear Speaker (+)
- Purple/Black Wire – Right Rear Speaker (-)
Optional Pins
The following wires are only needed when you have the corresponding components. Let’s give you a look at what the other 4 pins are used for.
1. Pink Wire – Rear camera
If you have a rear or backup camera that you want to install, connect this wire to the camera. Otherwise, leave it untouched.
2. Orange/Black Wire – Steering Wheel Key 1
Steering wheel control keys are a great safety feature for your vehicle.
You can access the radio without taking your eyes off the road and hands off the steering. This wire powers the steering wheel key control.
3. Brown/Black Wire – Steering Wheel Key 2
This wire is another part of the steering wheel control circuit.
4. Brown Wire – Parking Brake Control
As your android stereo has a touchscreen monitor, you can connect this to the ground. This will enable you to use it as a switch to turn the monitor on whenever you hit the parking brake.
Blank Pins
Two of the 20 pins, numbers 2 and 14, are blank and don’t have any inherent connections. Don’t worry about these; your wiring harness is not broken.
If you require a detailed video instruction for connecting your ATOTO android stereo, take a look at this video.
I’m sure it would help you a lot. Take a look at the diagram below for better visualization. I also recommend you print it if you’re going to set up the car stereo by yourself.

Conclusion
Connecting your android stereo isn’t that convoluted of a task, but you must do it properly. Otherwise, the unit won’t work and may even get damaged.
I hope this guide for Chinese android car stereo wiring diagrams for ATOTO, CAMECHO, and Hikity will help you set up most Chinese aftermarket head units.
Featured Car Stereos
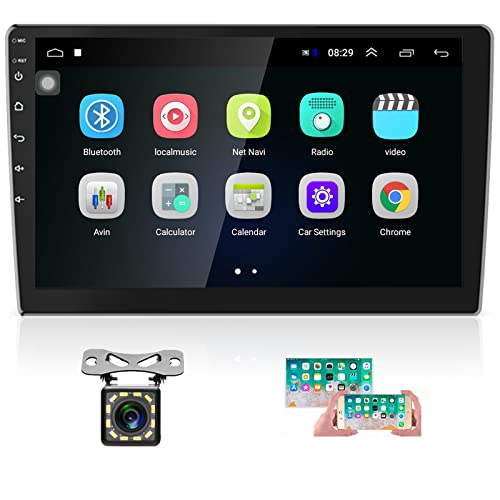
This is our suggested replacement for ATOTO A6 Double Din Car Navigation Stereo, ATOTO Pro A6Y1021PRB-G 2DIN Car Stereo and ATOTO Pro A6Y2721PR.
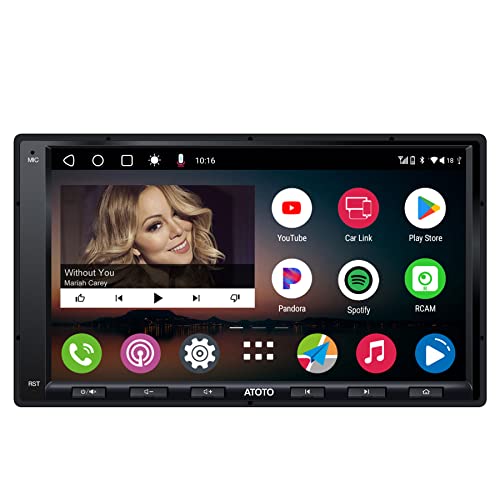
Some stereos can be hard to use. Not this one though. That’s great news for people that aren't tech-savvy.
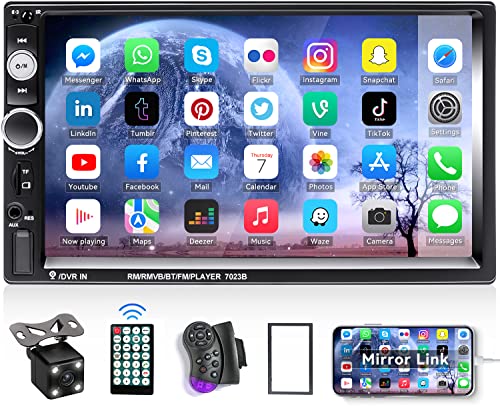
With a 10.1-inch touchscreen, your multimedia experience will be quite the treat with Hikity’s stereo.